Wyatt Furnas | 3D Artist

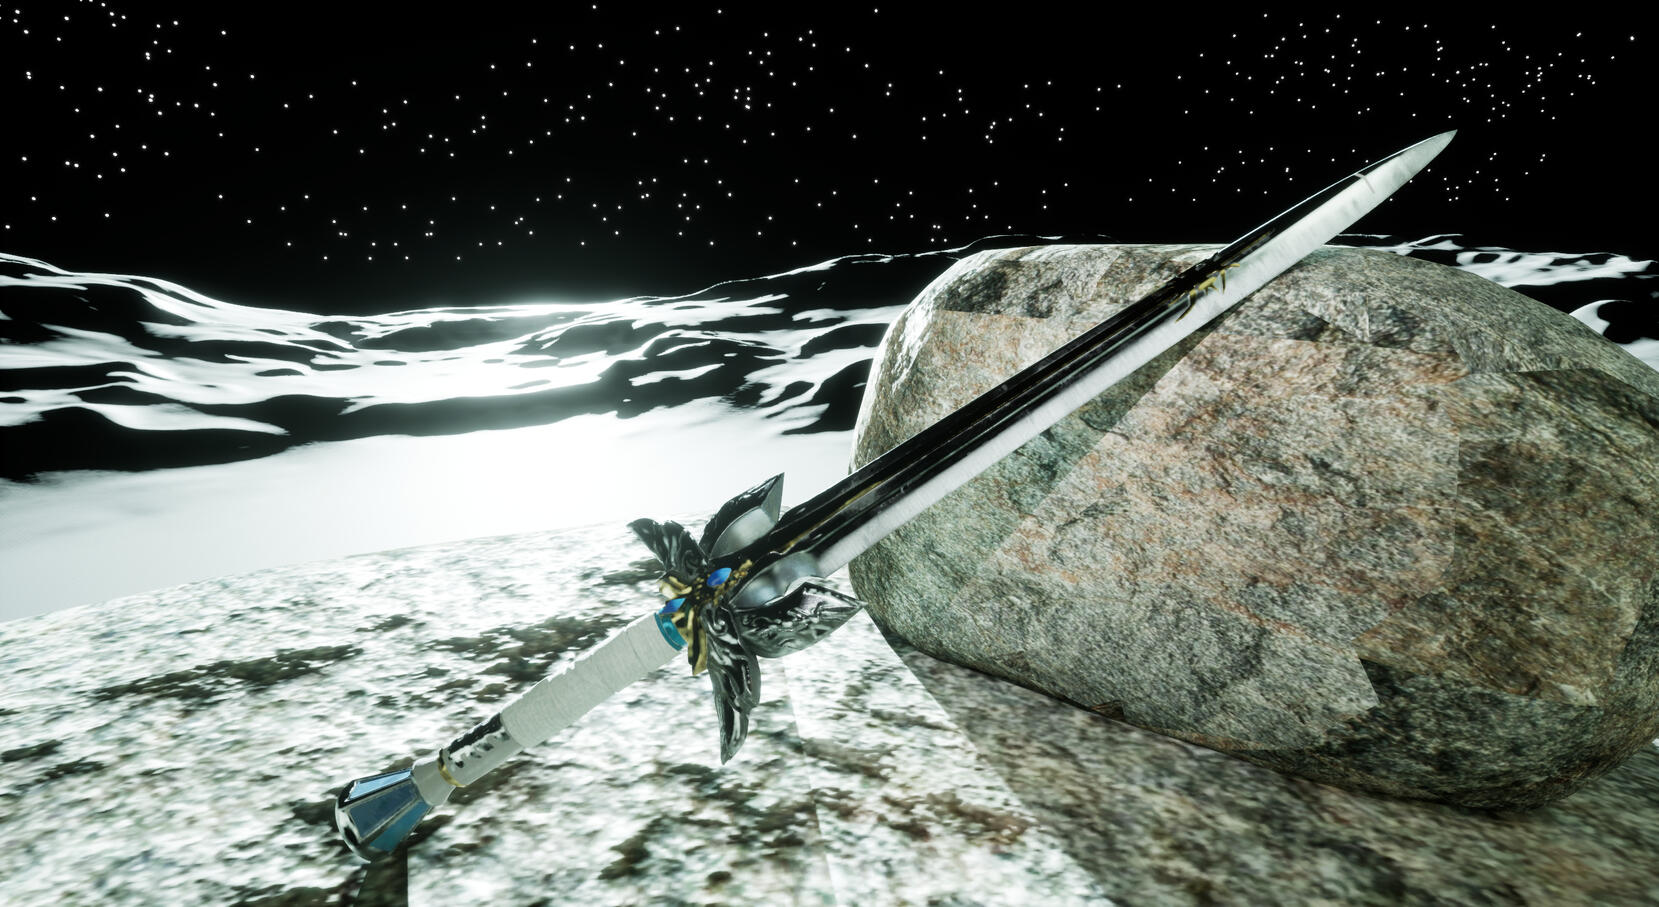
Lightbringer
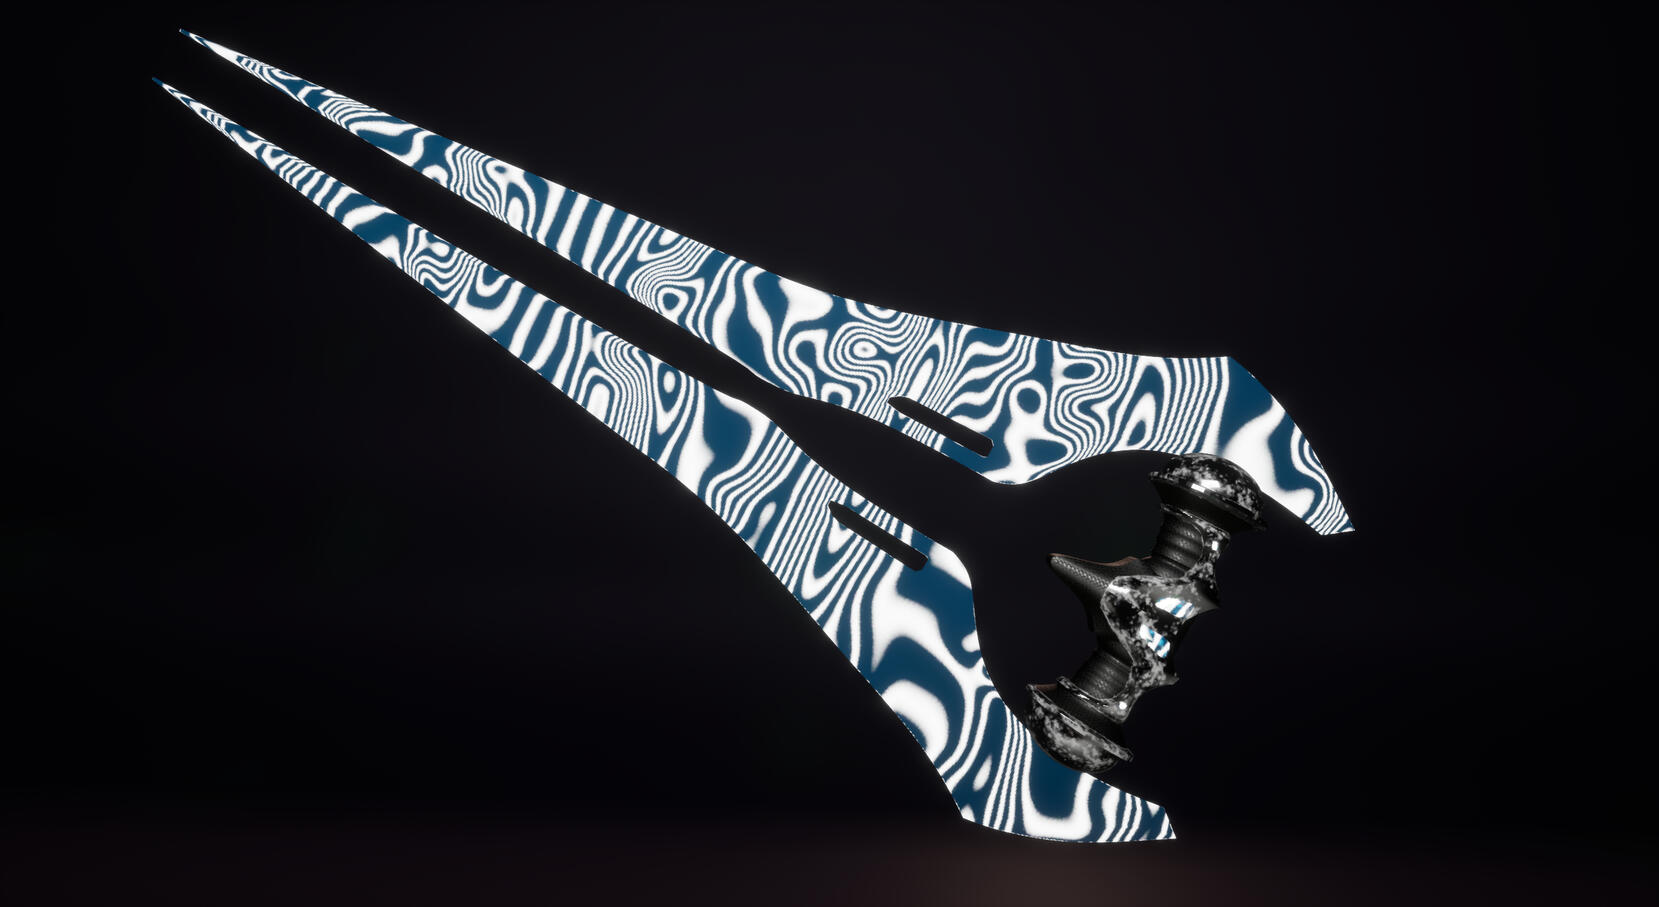
Energy Sword
Contacts and Socials:
Overview:
This site is to showcase projects and games I have previously worked on during my career in game development and artistry.About:
My inspiration to create games started young and traveled with me my entire life. I was pretty gifted to play a variety of games growing up, starting with Sonic Heroes on the PS2, Halo 2 on the Xbox 360, the original Half-Life on the home computer, and even creating Miis on the family Nintendo Wii and my handheld DS. It's still my favorite past time and now I get to look forward to creating memorable art and inspiring others to do the same as me.Education:
I am currently a Senior in the University of Central Florida, working towards a B.A. in Digital Media – Game Design.
A.A. in General Education and Technical Certification of Digital and Interactive Media Design from Seminole State College.Tools:
| Title | Team | Role | Team Size | Time of Development | Platforms | Engine |
|---|---|---|---|---|---|---|
| Orb of Dominion | Vivid Pixel Studio | 3D Artist | 9 | Apr-May 2025 | PC | Unity |

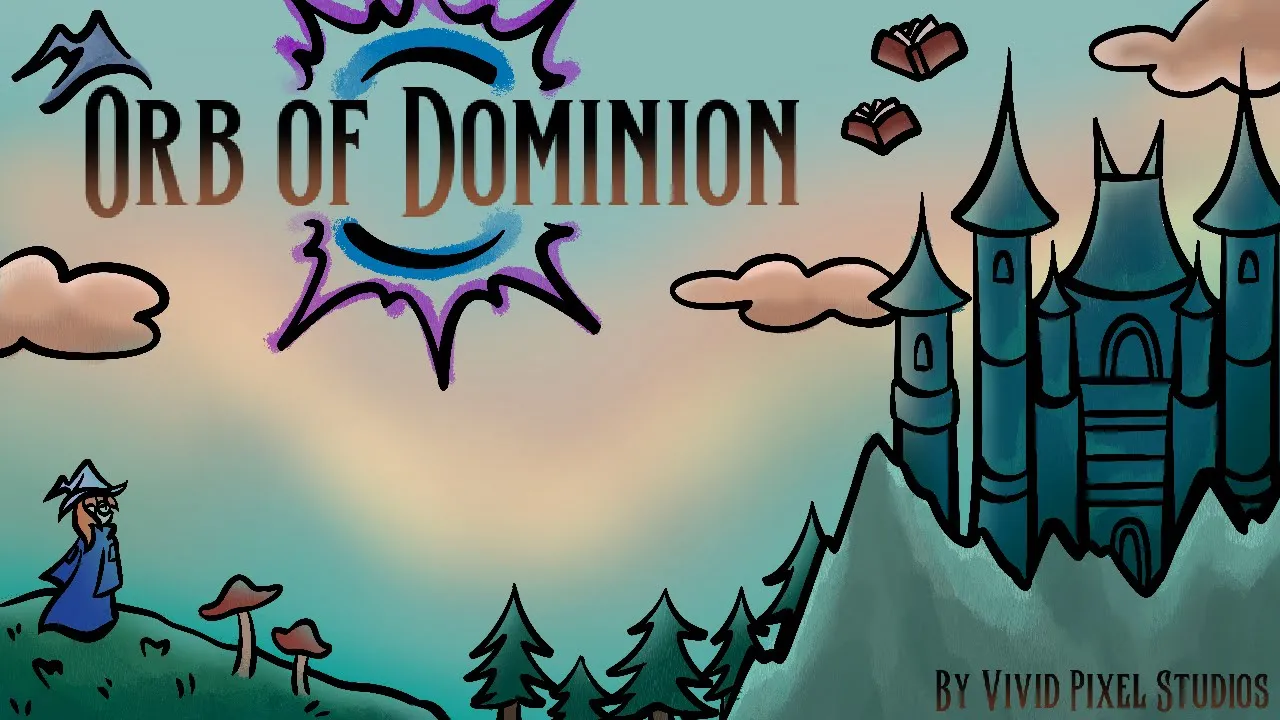
Orb of Dominion, a third person action adventure game, was created by Vivid Pixel Studios. Lapis, a lowly wizard initiate in the arcane accademy, must complete her final exam in three dangerous locales: the enchanted Forest, the haunted Crypt, and the magical Study. Generally disadvantaged, she has one leg up on the competition - her signature magical foci, the Orb.Contributions:
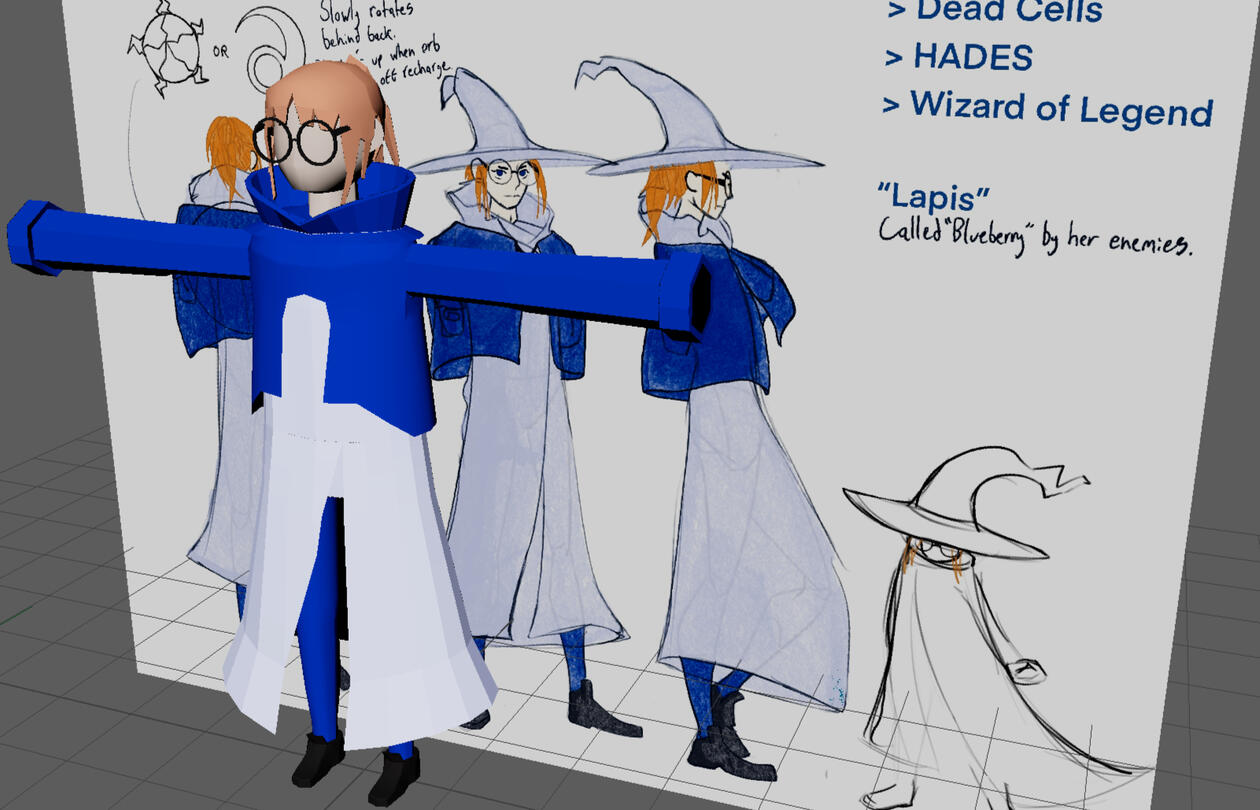
As one of the two 3D artists, I created majority of the assets for the forest level including the ground and wall textures. Maya was used to create the models while Procreate was used for the hand drawn textures. Shown below are just some of my models and concept drawing of the main character, Lapis.

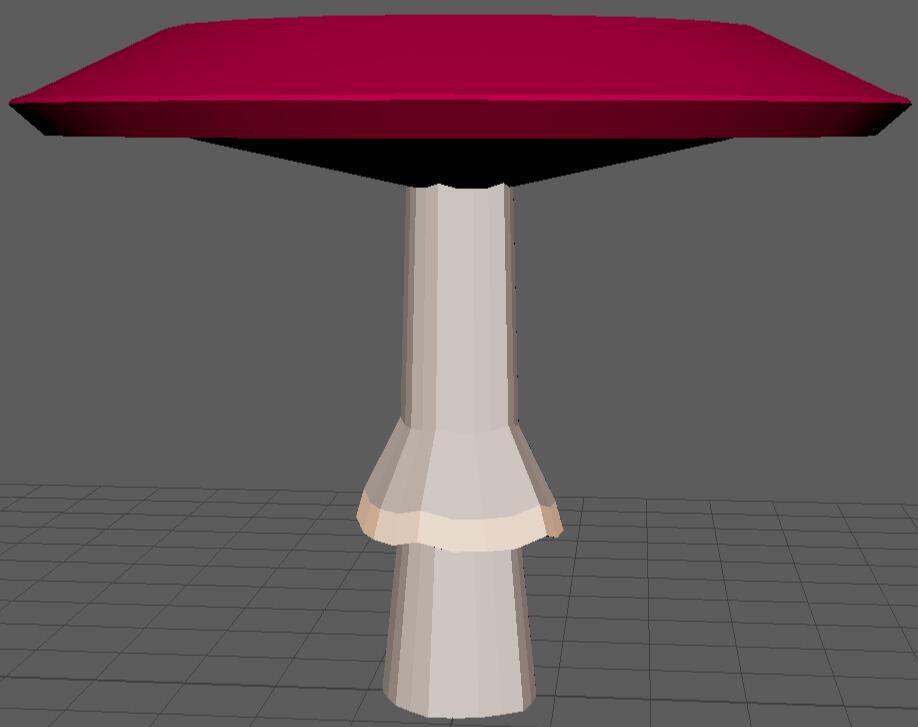
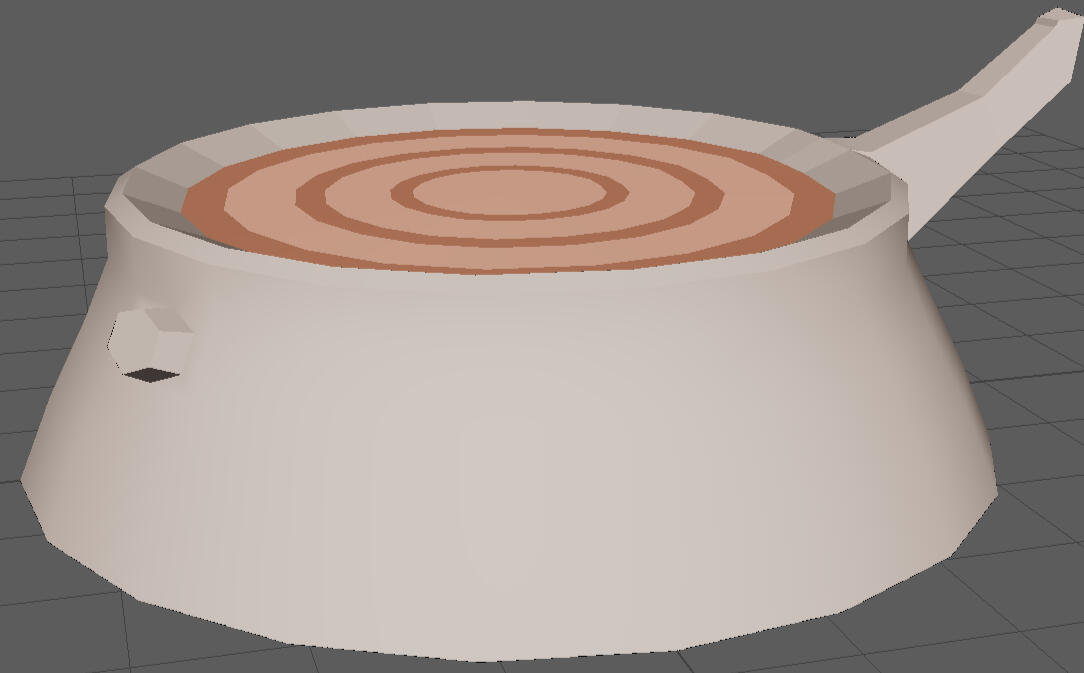
Forest Stump
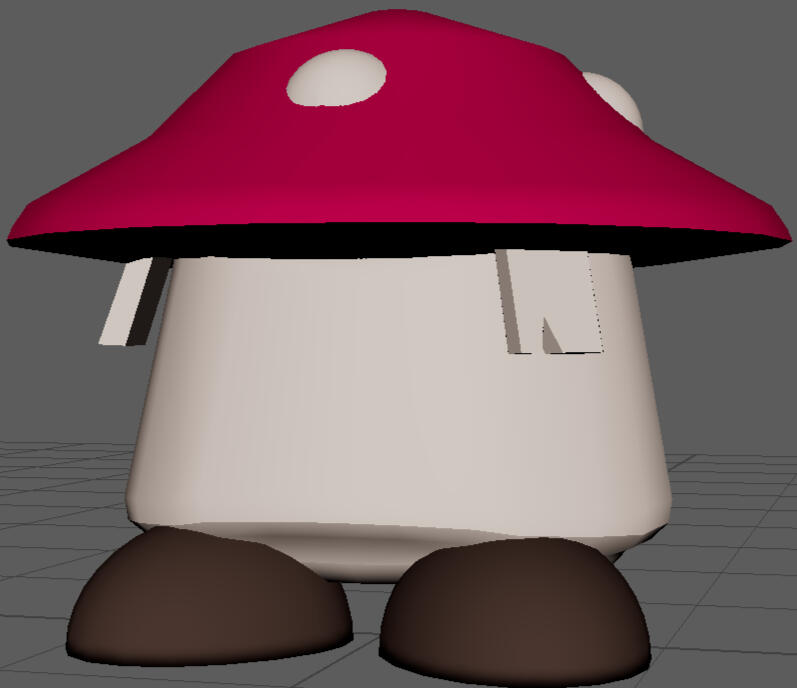
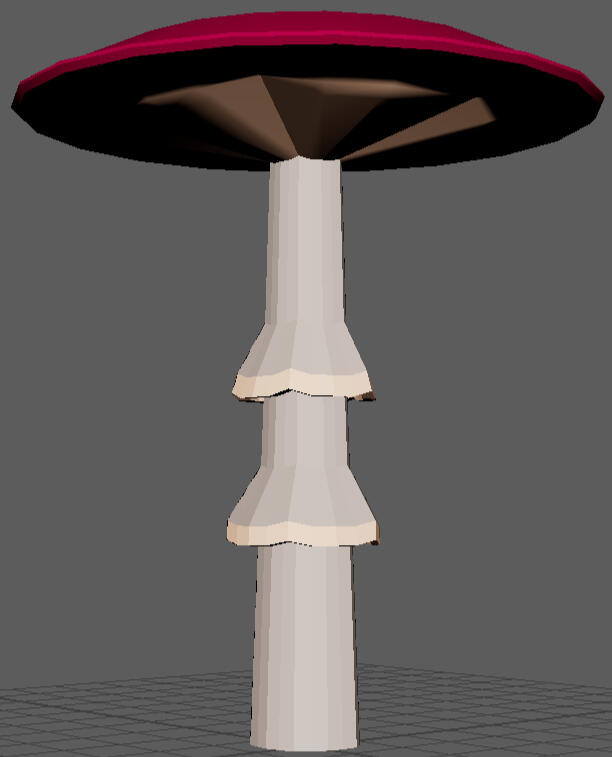
Mushroom Enemy
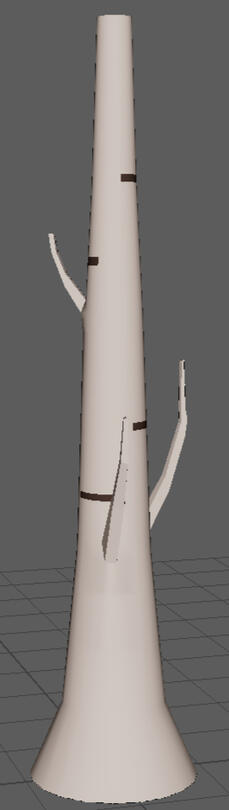
Tree var. 1
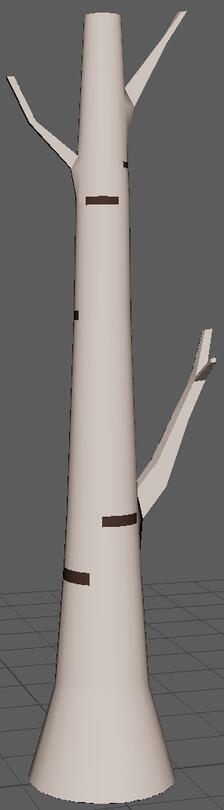
Tree var. 2
Red Cap var. 1
Red Cap var. 2

Lapis Model and Concept
In conjunction with our primary 2D artist, I had also done the linework and shading on the game's promotional poster, as seen below, also using Procreate for this.

Link to Game:
| Title | Role | Team Size | Time of Development | Platforms | Engine |
|---|---|---|---|---|---|
| Exorcist Escape | Layout Designer and Programmer | 4 | October 2025 | PC | Unity |

This is my second game jam, organized by Game Dev Knights and Graphics Programming Knights. The player takes the role of a ghost in a haunted house, newly purchased and now visited by an exorcist of... dubious credibility.Contributions:
In this 48 hours jam, I teamed with members proficient in animation and modeling. As the only one experienced with Unity and source control, I showed my teammates the process of implementing Github Desktop and Git, as well as blocking out the level in Unity.
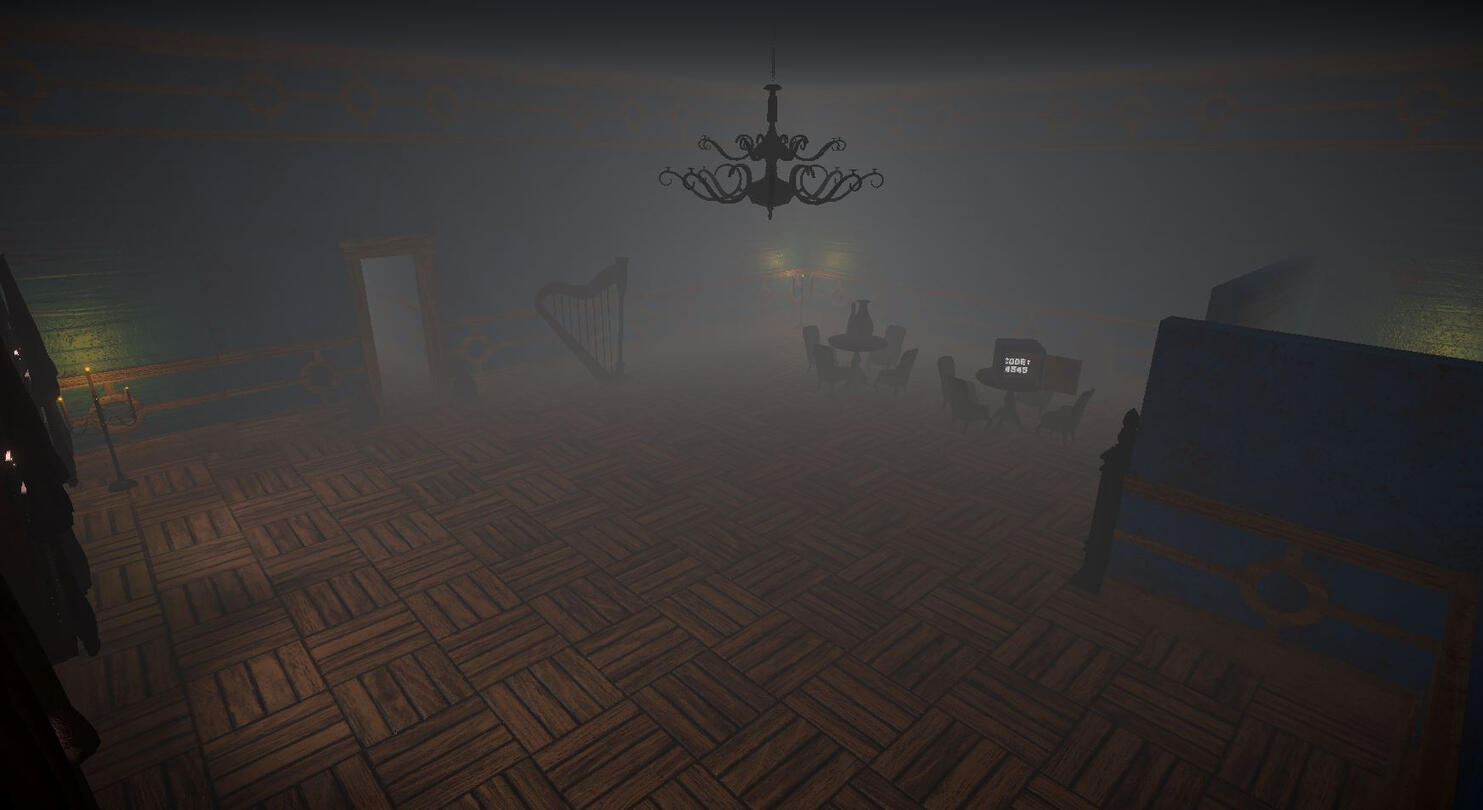
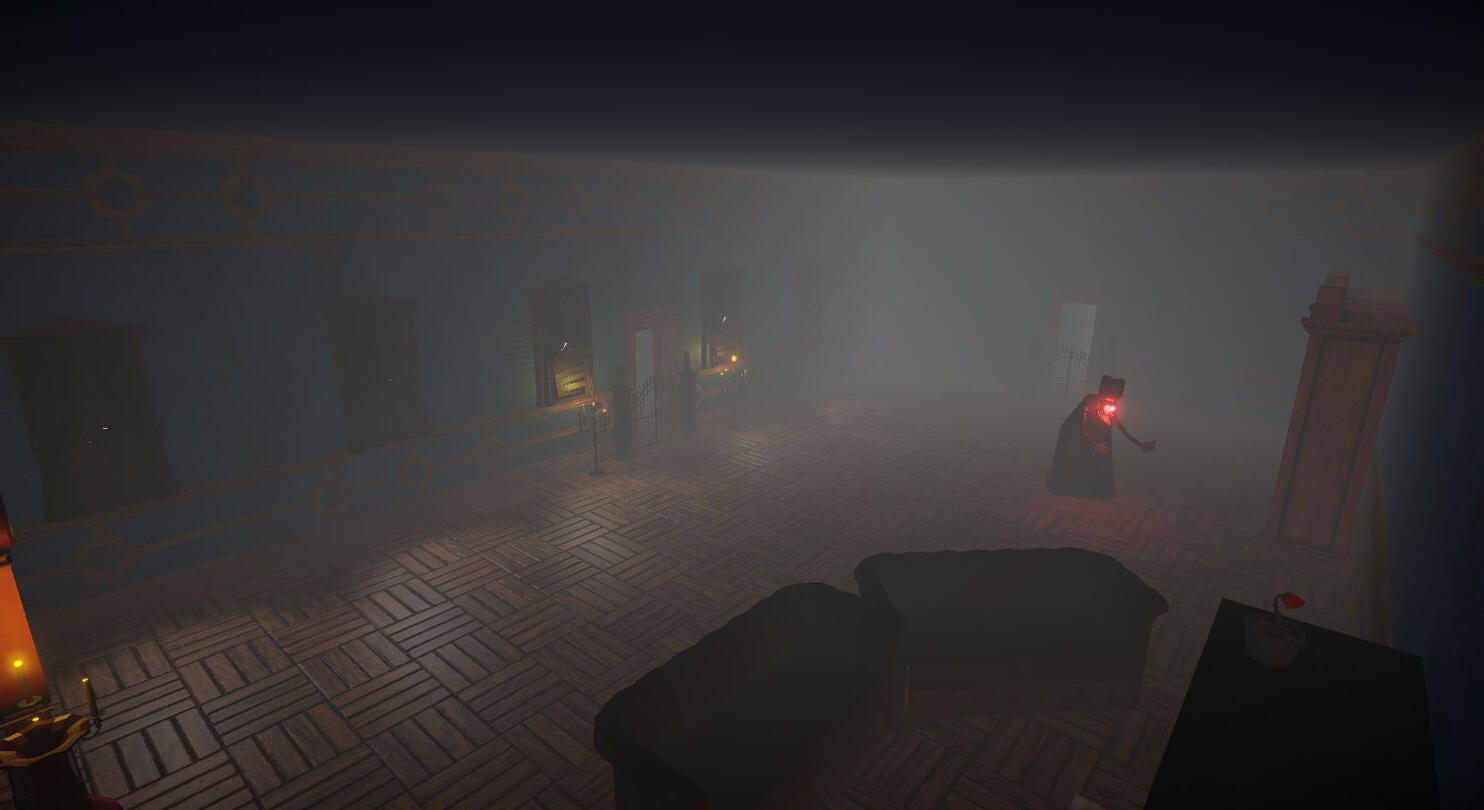
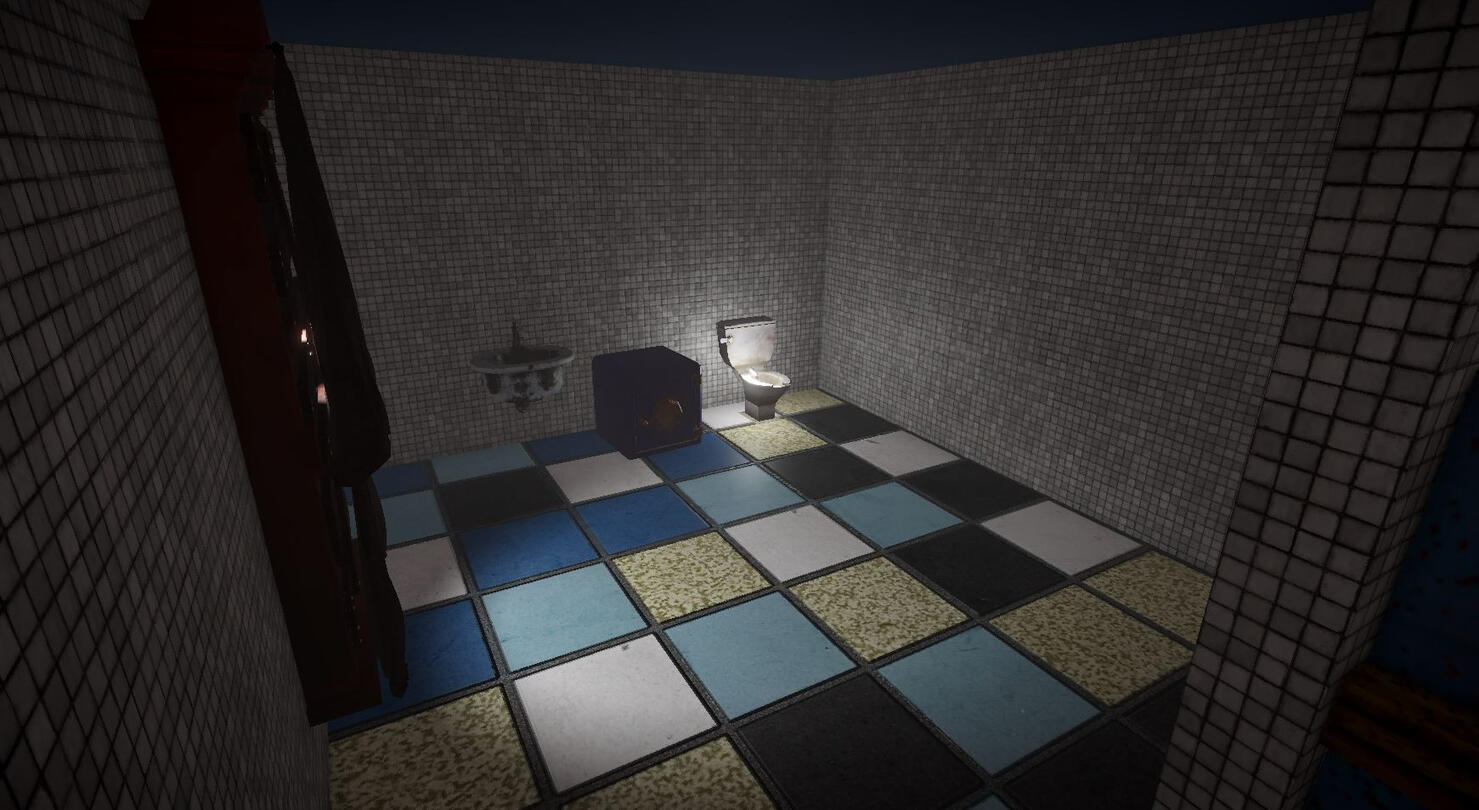
Below are some captures in-game of some layouts of the manor you navigate throughout the game.

Starter Room

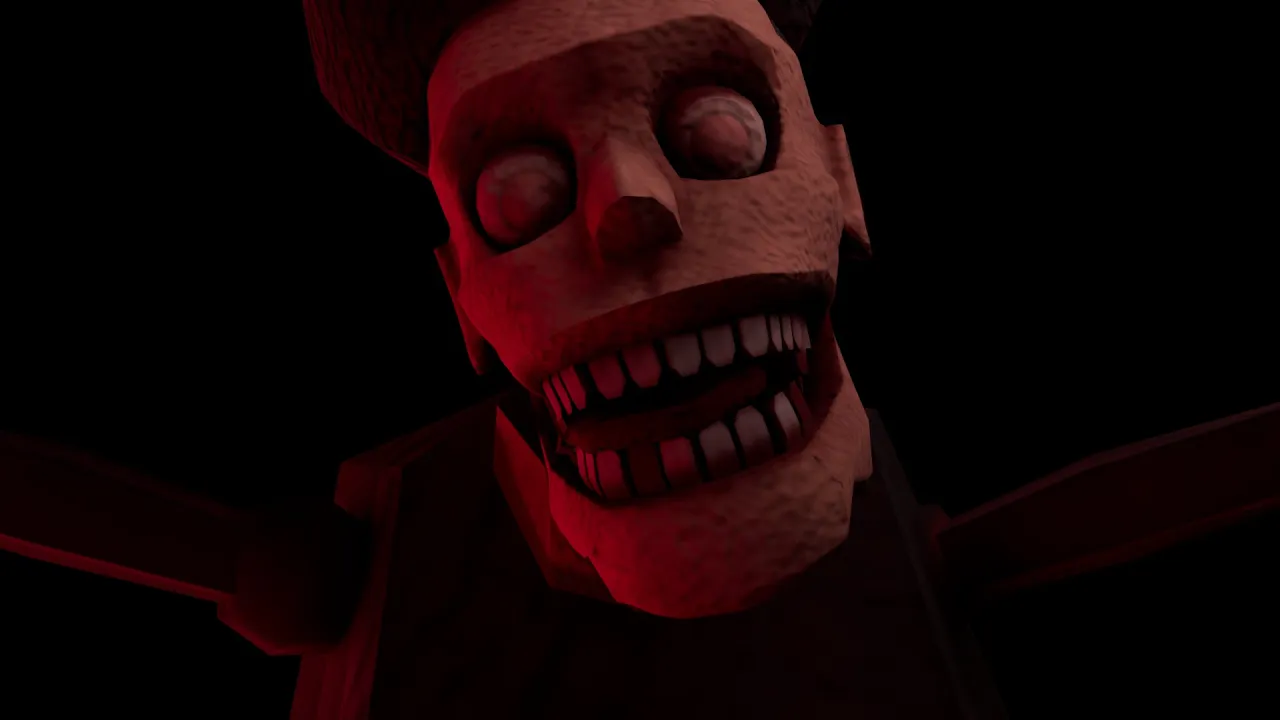
Main Room, feat. the Exorcist

Bathroom, with key in toilet
I was also responsible for assigning most of the animations to controllers and making things run as smoothly as possible. This game jam's theme was "Renderjam," and required at least one post processing effect in the build. We accomplished this by including a vignette, ambient fog, and some chromatic abberation on faraway entities.
Link to Game:
| Title | Team | Role | Team Size | Time of Development | Platforms | Engine |
|---|---|---|---|---|---|---|
| Passione | Crunch Studio | Texturer | 12 | Sept 2025-Dec 2025 | PC | Unity |
Passione was a project I worked on in the Game Design course at University of Central Florida's Game Design track. It's a rubber-hose, first person brawler where the player takes the role of a famed boxer, battling his way through lively and perilious streets as he seeks to rescue his beloved.Contributions:
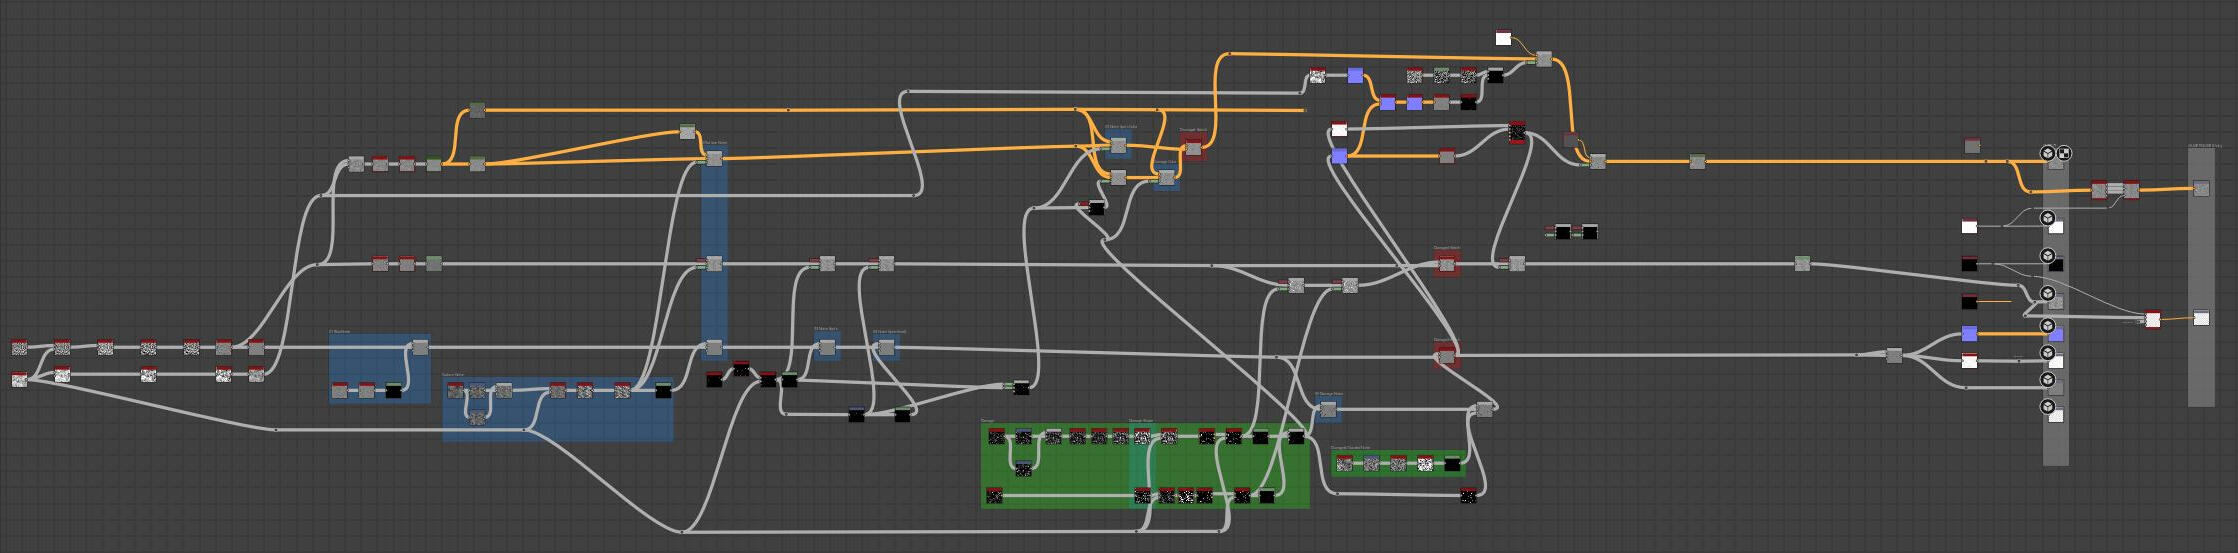
During this project I have picked up Adobe Substance 3D Painter and Designer into my toolbelt and developed all of the game's textures. During this project I learned substance graphing and plan to continue helping with poster work as well when it comes time for social media and marketing assets.Below are some examples of textures created and their respective graphs.
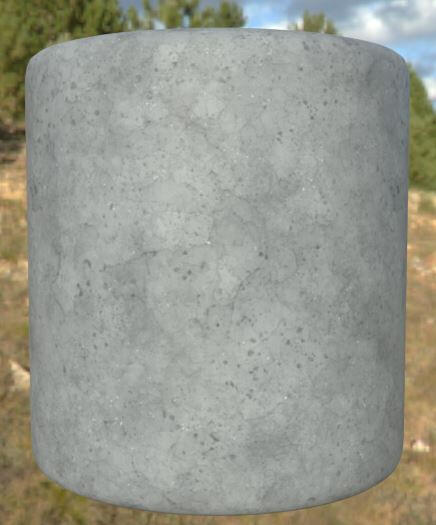
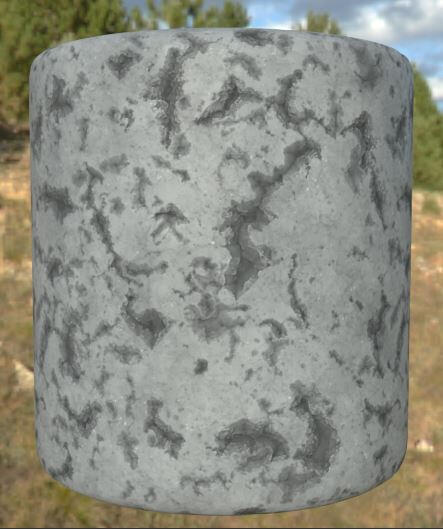
Concrete var.1

Concrete var.2

Substance Graph of Conrete Texture
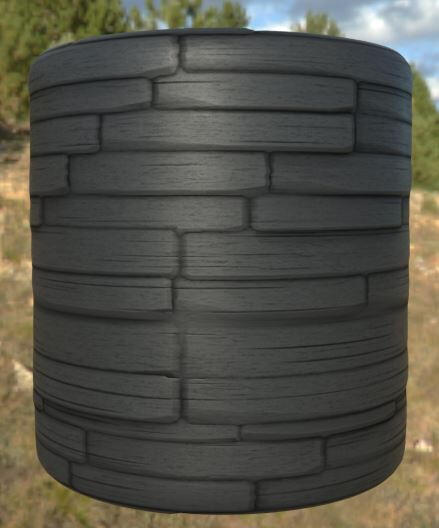
Wooden Planks

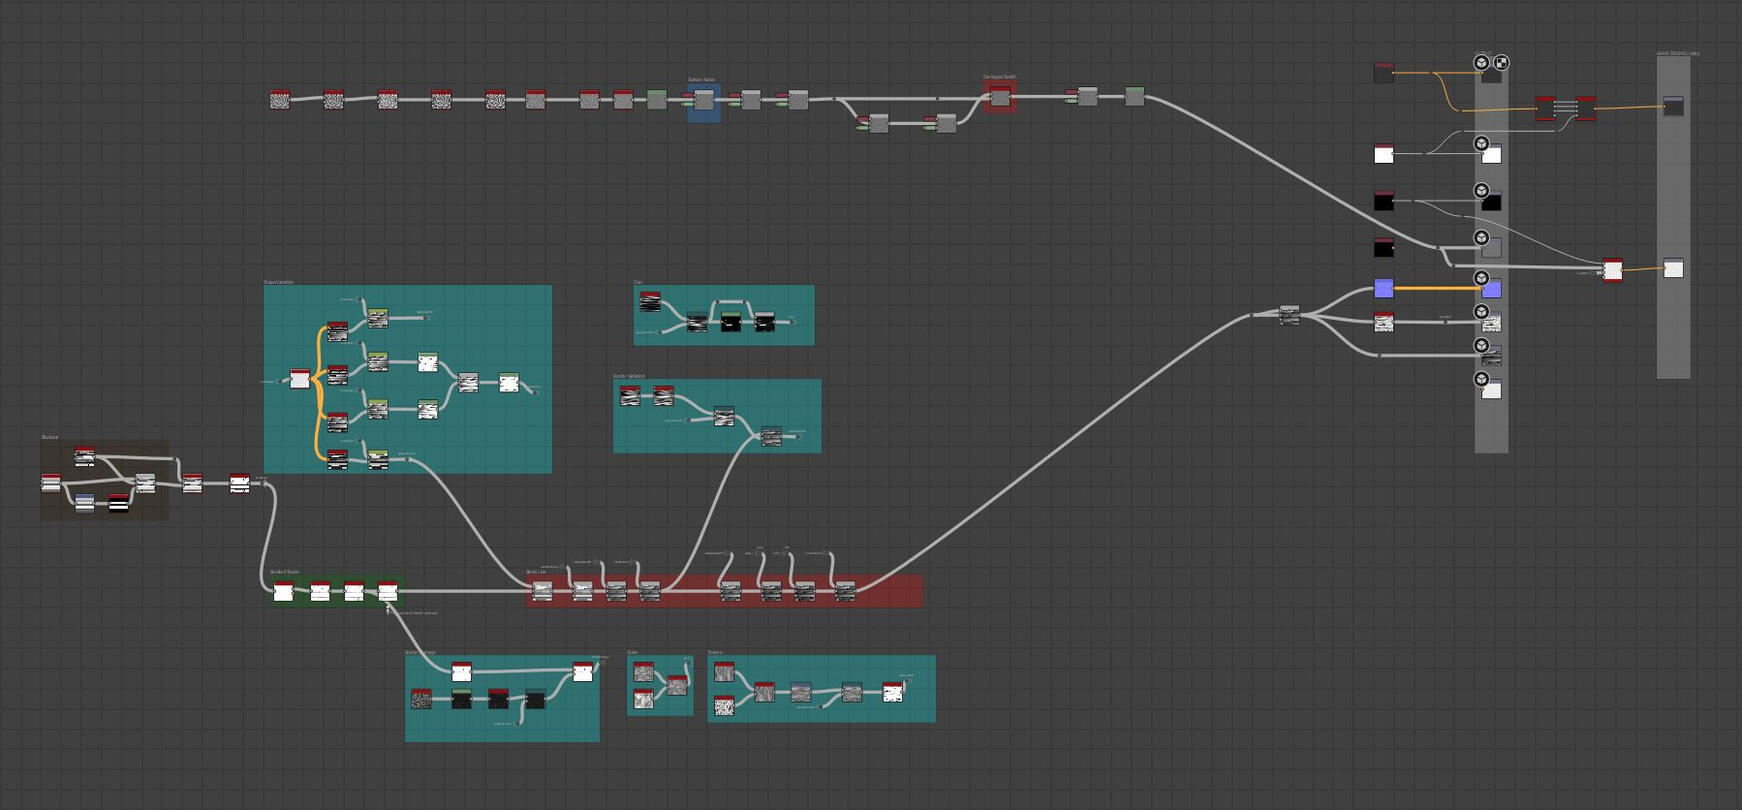
Substance Graph of Conrete Texture
Link to Game:
The project was never finished.
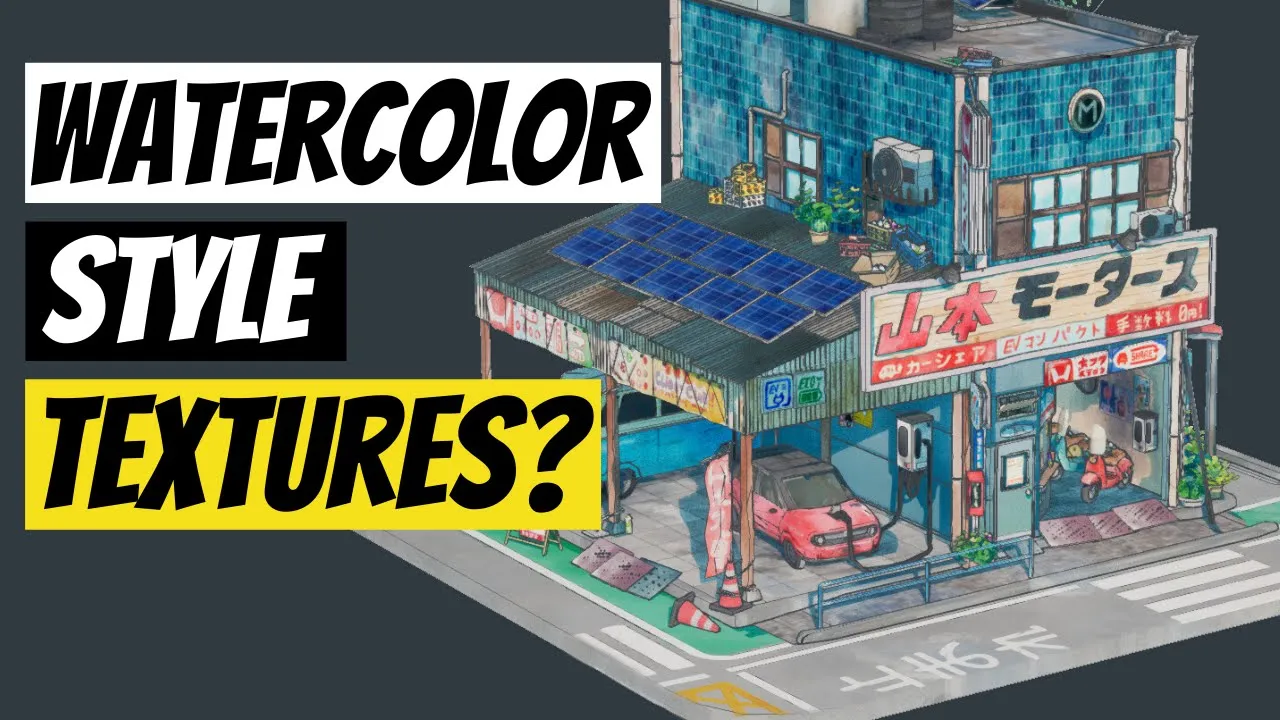
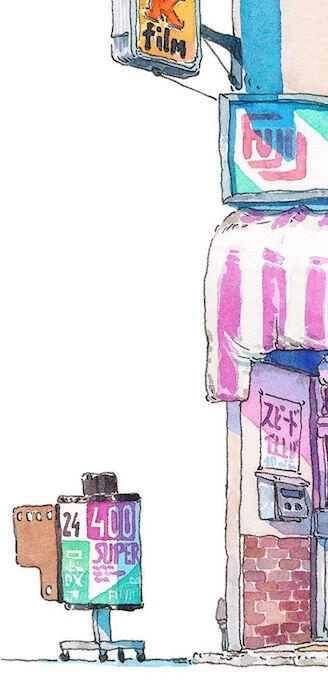
"Studio Mamiko" is a 3D recreation of a painting by the same name by Polish animator Mateusz Urbanowicz. The paintings can be seen here.I took heavy inspiration by fellow artist Niara Clay and their portfolio piece 3D watercolor on artstation, where they use these blends of watercolor textures on simple 3D objects and cards.Progress Log 1:
To start off this project, I have gathered reference images to help create objects to fill the environment. I plan to eventually have it set up as a street view with the sole Studio Mamiko being the focus, but with surrounding objects to help create a lively and interesting scene.Below is an ensemble of reference images compiled using PureRef.

Throughout the creation process, this video will be a major help in the process creating textures via watercolor. I am already familiar with texture work on its own, as well as watercolor painting, but the blend of the two processes has proven to be more tricky than first expected. For Progress Log 2 and so forth, the video will play a more major role, but for now I have just blocked out the central building and begun the process of creating environmental props. Textures will do the heavy lifting so the buildings need only be simplistic in the number of faces.Materials are slightly transparent to showcase reference images behind objects

Progress Log 2:
I've realized that in order to create the setpiece I want, I needed to prototype the unique watercolor shaders that I want to emulate in Studio Mamiko. I've already have enough experience 3D modeling, but I had apprehensions about how this would look in-engine as well as how am I going to replicate that watercolor look. I've found this brilliant video, recommended to me by one of my classmates, on how to create stylized assets in blender, to which I will use to create the props within the scene.Below is a screenshot of the last two props when I started blocking out too early before I understood the workflow.

I've followed the video, making changes when necessary, to emulate that "painter" feel I've been looking for. Materials in Blender are very different than what I am used to, but I do not mind having the majority of my workflow hosted there, as long as I am able to create a scene with sufficient lighting and that watercolor feel. Just like the painting, the shadow is this deep blue hue when exposed to harsh light.Next I plan to tackle the majority of outside props using the same workflow in addition to adding handpainted decals onto the models.

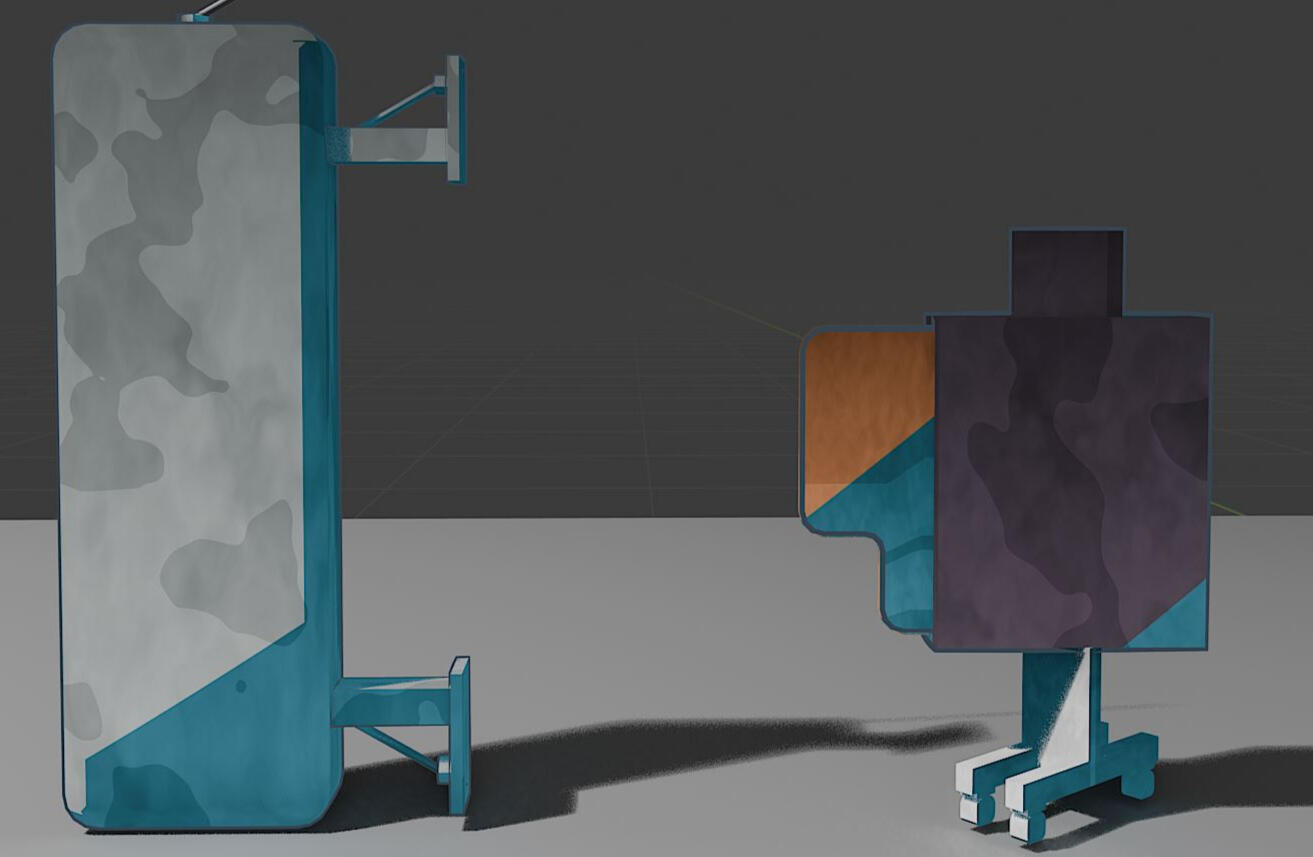
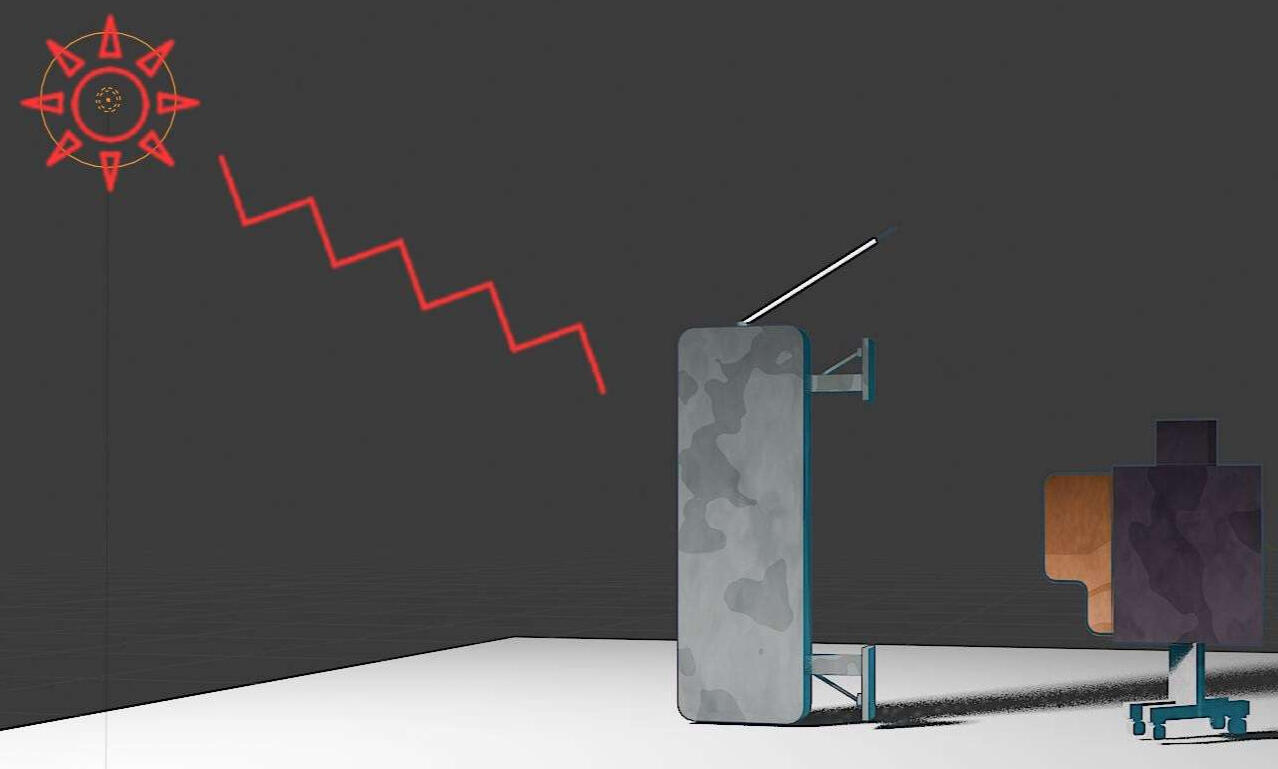
Mamiko Props

Exposure to Light

Shadow
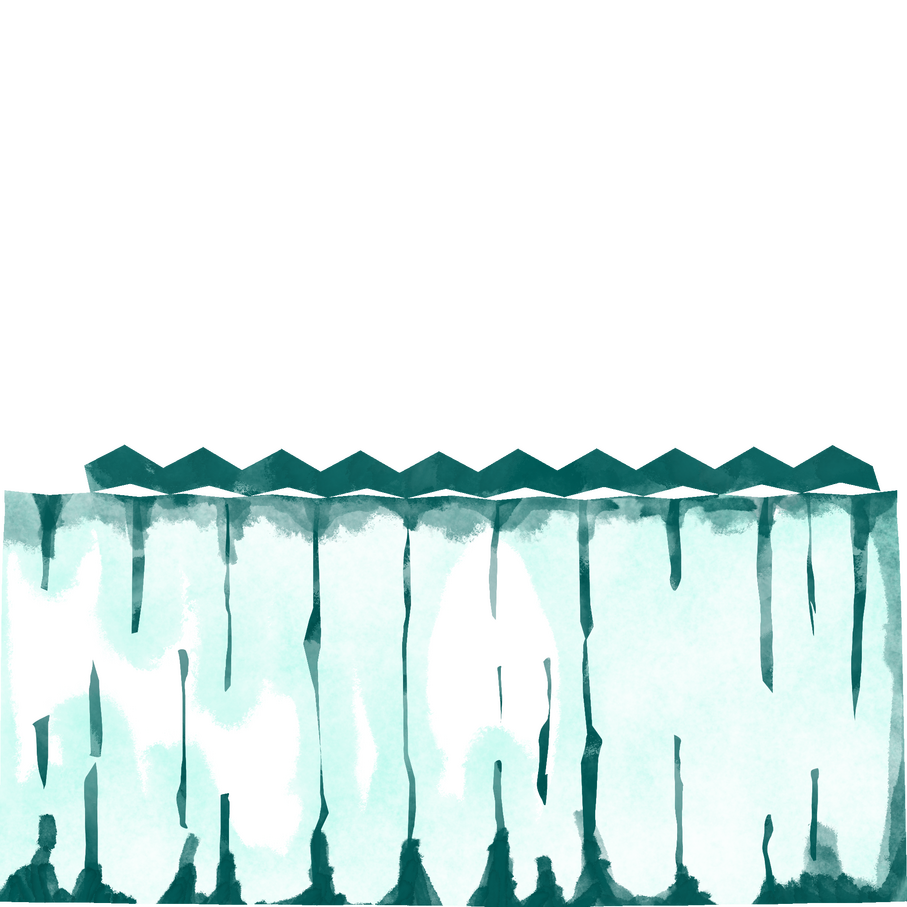
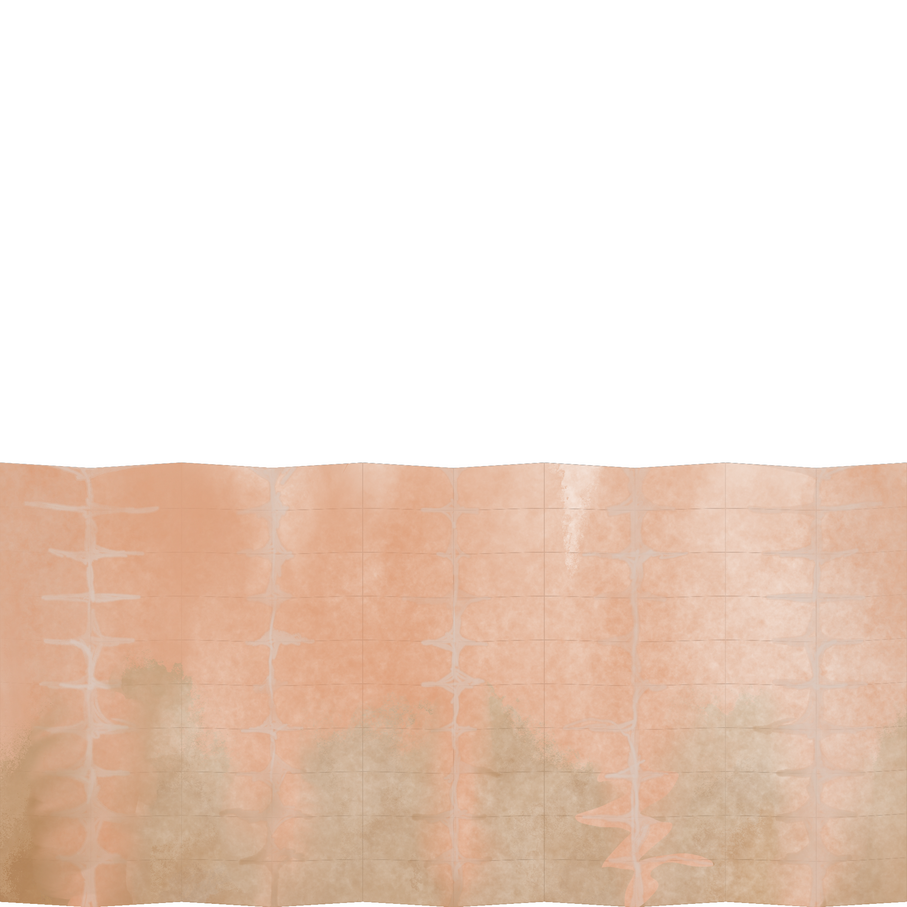
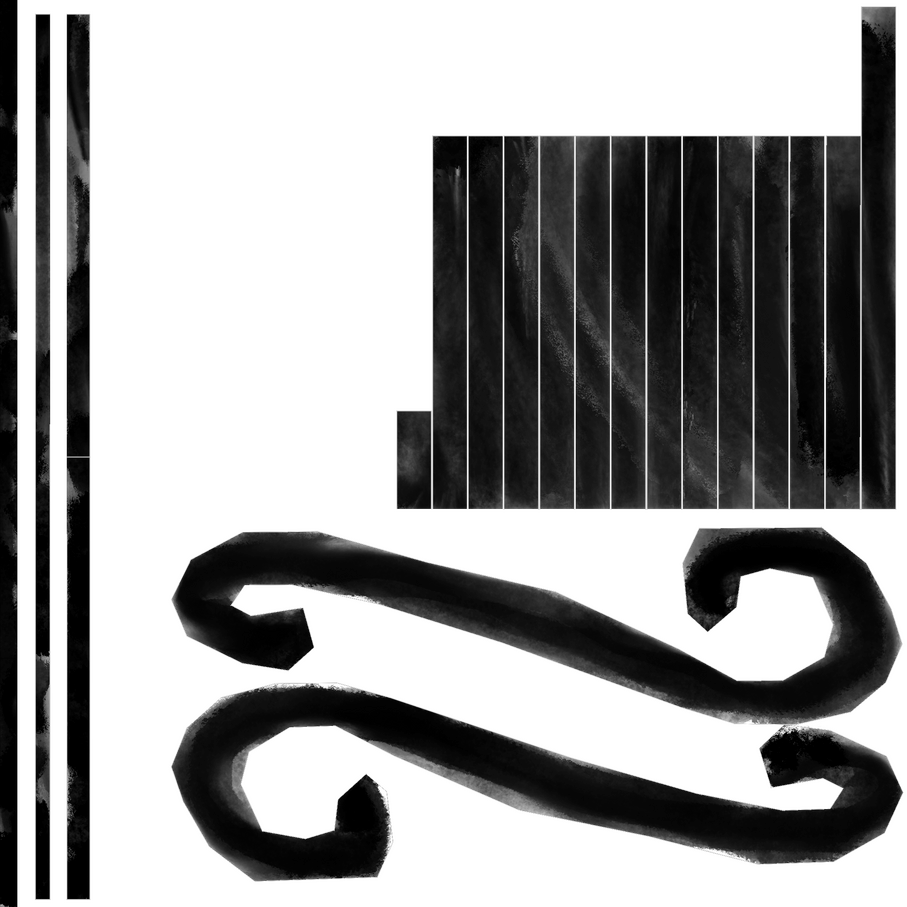
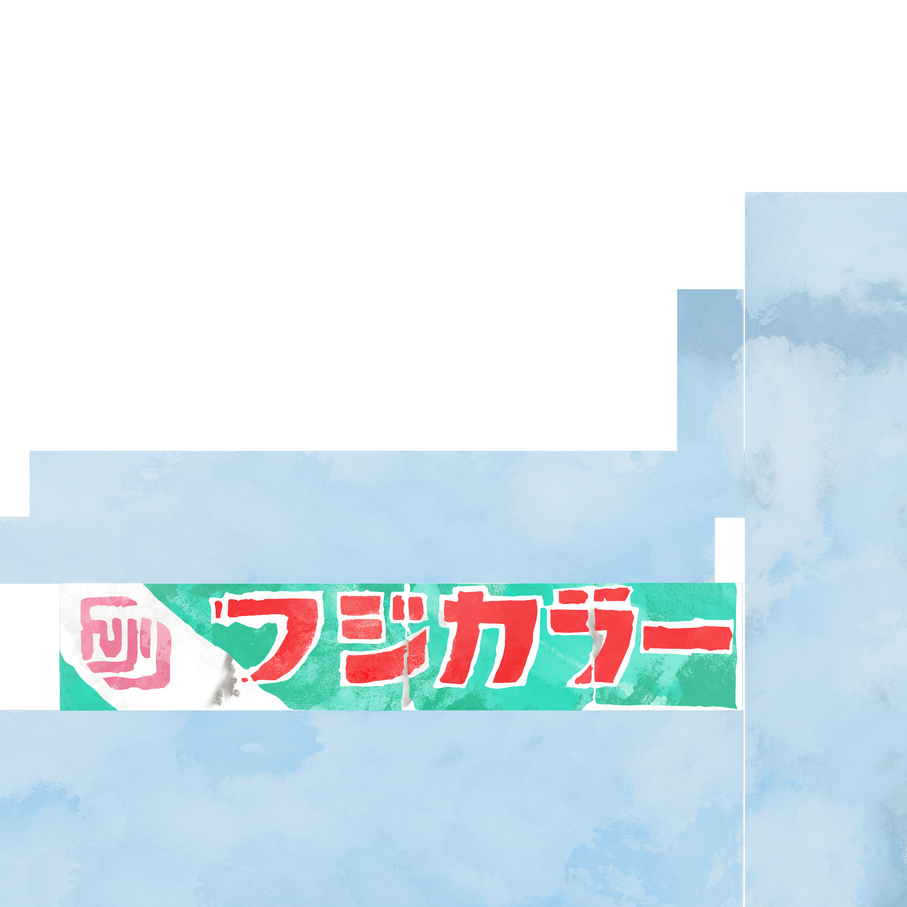
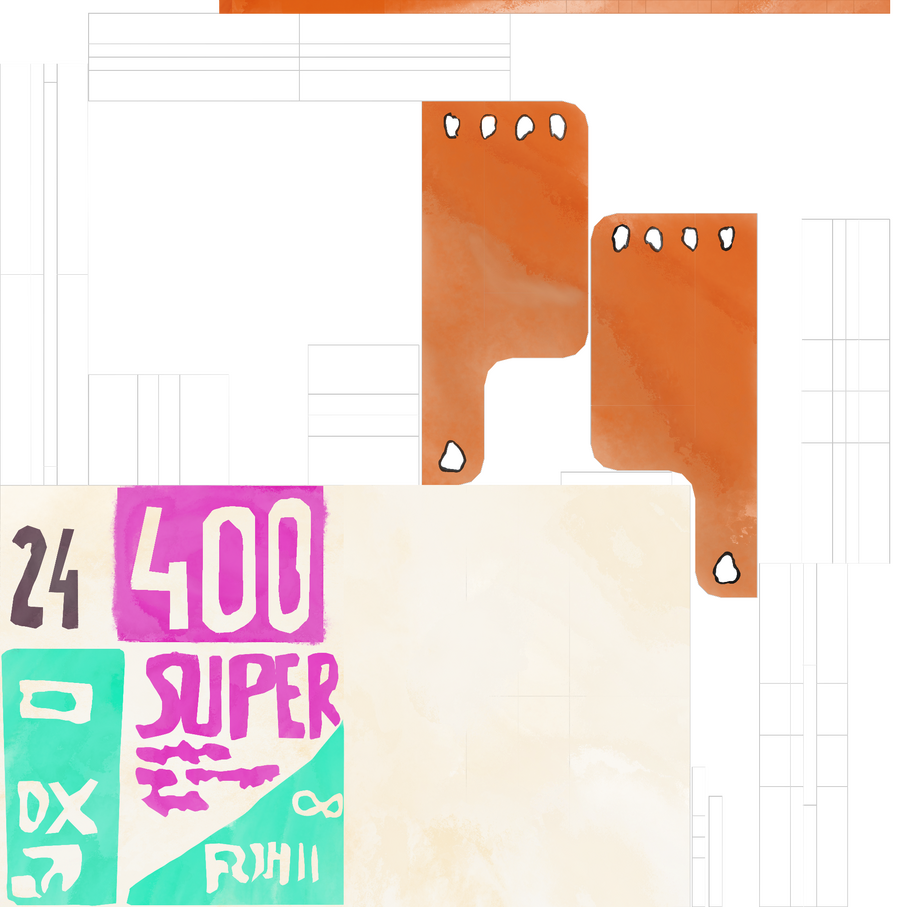
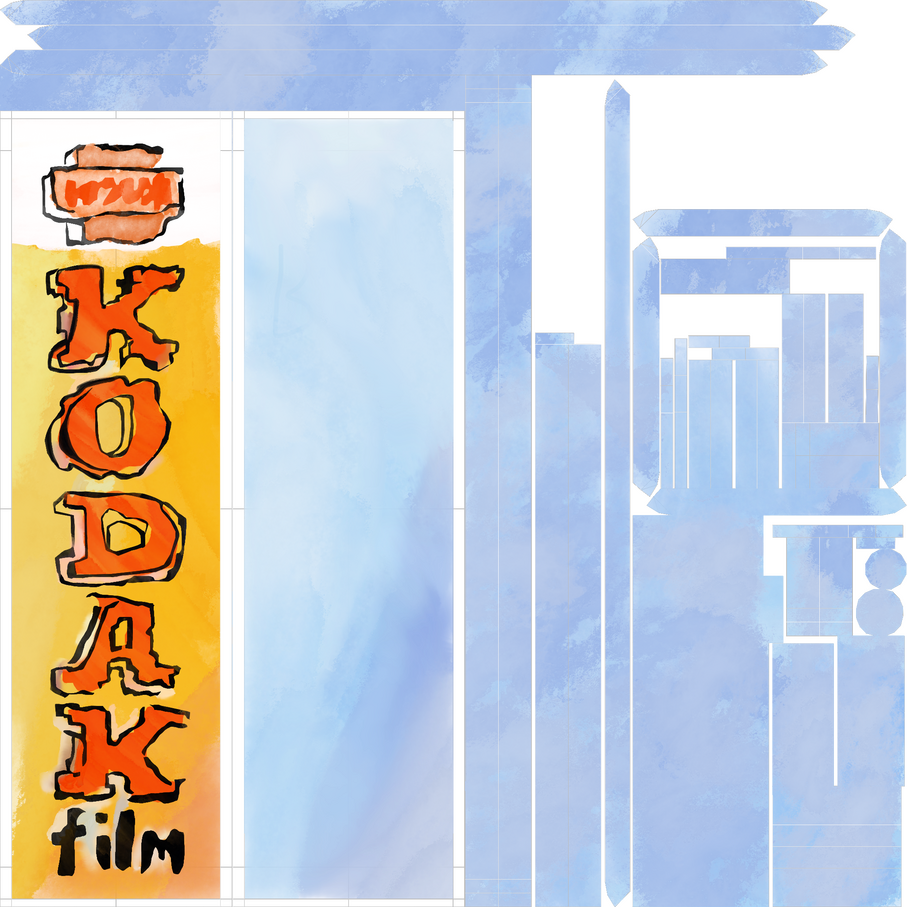
Progress Log 3:Some props, like signage and planar geometry, cannot be handled by shader graphs alone and require more detailed decals. That's where the handpainted stuff comes in I made in Procreate.After making the 3D objects within Maya, I took a snapshot of the UVs in the UV Editor and imported them into Procreate where I am free to draw within the lines. The brushes I used specifically were watercolor brushes from a brush pack a friend gave to me, which was custom made.Below are UVs and handpainted textures that I have made to be applied to prexisting materials.

Patio Awning UV
Window Awning UV
Balcony Fence UV
Storefront Sign UV
Rolling Sign UV
Hanging Sign UV

Progress Log 4:Applied hand-drawn textures to various signage including posters, signs, window, brick walls, as well as various props decorating the scene.


Here are the final rendered images with the scene lighting. What I wish I could have done differently was add in the plant and and patio details to further bring the scene to life, as well as set up a colored background. However, a gray background kind of brings out the bright pastels in the image, but perhaps a white one would have been more effective just like the original painting.
In addition, now that the project is finished, I wanted to submit the final watercolor nodes so that it may be replicated.


